

I HUNG out of a Helicopter & Survived: 5 Min Portrait
Welcome to another “5 Min Portrait”, this time we have the Helicopter Edition from Las Vegas.
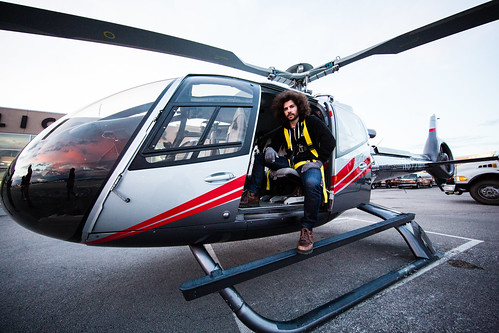
This was my first time shooting out of a helicopter with the doors off, yes the doors were completely open the entire flight. The good news was that I had a harness on just in case I fell out.
Click Here to download FOUR RAW DNG Files from this shoot. If you don’t have Adobe Lightroom you can get a 30 Day FREE trial right here.
Click Here to access the FULL RES exported Jpegs.
Thank you to Canon and UBUprints for taking us up in the helicopter. You can find out more about UBUprints right here.
Thank you to Maverick Helicopters for an amazing experience. Check them out the next time you’re in Vegas. http://www.maverickhelicopter.com/
Gear used in this 5 Min Portrait
Canon 5D Mark III
Canon 11-24 F4
Canon 24-70 2.8 II
Canon XC10
GoPro Hero 4
GoPro Hero Session
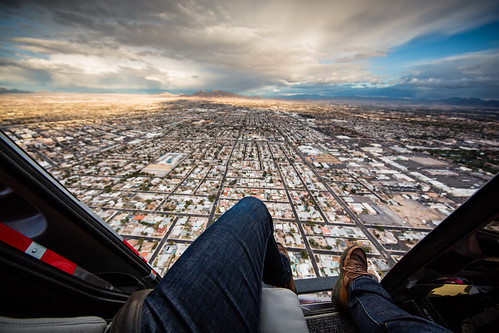
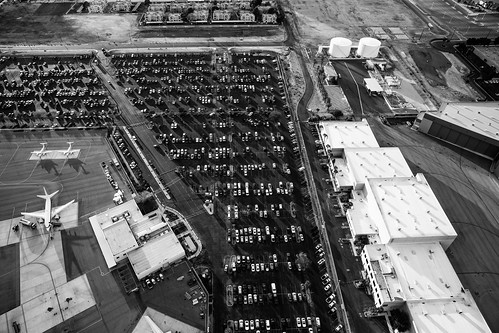
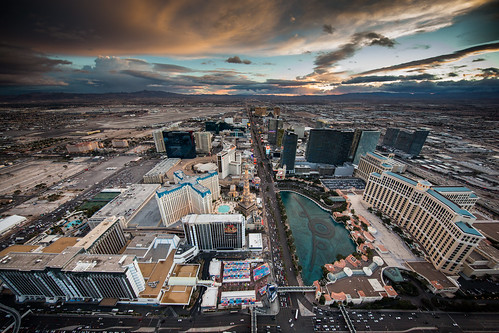
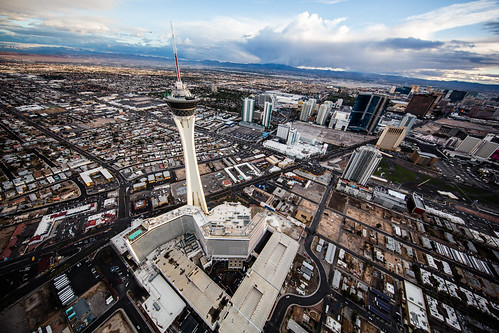
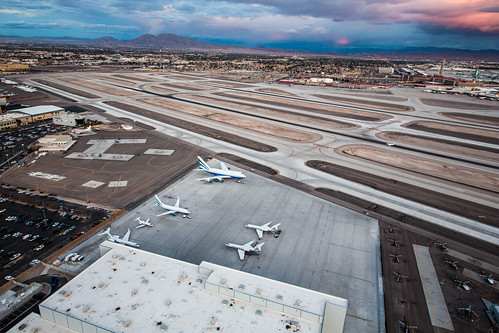
What an experience it was to have the opportunity to fly in a helicopter over the Las Vegas Strip at sundown to take photos all while the doors were open. Luckily for me I was harnessed in just in case I leaned a little too far out and fell out. If that were to happen I probably would have been dangling but still safe.
Like I said above, this was my first time getting to shoot photos out of a helicopter let alone without the doors closed. I was shooting with the Canon 5D Mark III, Canon 24-70 2.8 II and the Canon 11-24 F4.
Here’s what was going through my mind in regards to camera settings before the flight. I like to get into shooting mode and pre-visualize the situation I will be shooting in. In terms of settings I knew we would be flying fast and their might be some vibrations. This meant I would want a higher shutter speed to counteract any vibrations or fast movements. Because of this I would probably need my ISO to be a little higher.
In terms of lenses, I wasn’t sure wether or not I should go with the 24-70 or the 11-24 starting out. I started with the 24-70 but quickly decided I wanted to go wider. You have to be extremely careful when the doors are open and you’re changing lenses for obvious reasons.
To be completely honest, I am not sure ultra wide was the best choice for most of the flight. I did get some awesome images but felt at times I would have liked to have a 70-200 to get tighter images. This is where having two bodies on board would have been helpful. With that said and having the chance to live with the images for a little while, I a was very happy with the results.
One thing I encountered while flying was getting the propeller in the shots since I was shooting so wide. The way I counteracted this was to snap off multiple frames a second to make sure at least one of them wasn’t ruined by the prop.
In the future if I were to do this again I would like to be flying as the only photographer. Reason being is I would be able to direct the pilot more. I could hover over a specific shot until I got it or quickly move to try a different angle. While up there it’s all about time, if you can think and focus you can capture even better images.
If you are considering shooting of a helicopter be sure to follow the quick tips in this video so you can learn from my mistakes and successes while on my first flight.
Here’s how I edited each of the photos from this 5 Min Portrait.